Timothy Cunningham

Chueltas Can-Can or Can-Can Chops are a new experience for me.  A friend of mine had a hog butchered. The butcher left the pork  belly, skin, fat & loin meat attached to the pork chops.  It is called Can-Can (or sometimes Kan-Kan) because the skin and fat make a frill pattern much like the frilled skirt of the classic "Can-Can" dancers of old.

The cut itself offers the promise of a meaty juicy pork chop combined with the rich fat of the belly and that crispy, crispy fried skin that crunches when you bite into it.

It also holds challenges in that the cooking method that best suits a pork chops is not the same methods that suit pork belly and pig skins!

Finding recipes for Chueltas Can-Can were not abundant. So I pieced together what recipes I could find, synthesized it with research from what constitutes traditional Puerto Rican cuisine and set about experimenting.  I cooked the pork two different ways: 

Brine the meat.


  • 8 cups water
  • 1/2 cup kosher salt
  • 1/4 sugar
  • 2 cloves smashed garlic
  • 1 Tsp red chili flakes
  • 1 Tsp cumin seeds
  • 1 Tsp black peppercorns
  • 1 Tbsp dried oregano

Dissolve salt and sugar into the water. Put the pork and and brine into a zip top bag and let sit in fridge for between 2 to 8 hours.  Afterwards discard brine and rinse the pork completely.  Return the pork to the fridge for 2-3 hours to allow the brine to equalize through the meat.


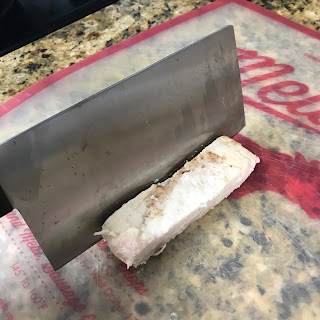
After the pork has rested, use a sharp knife to score the skin and fat into thin segments.  Rub only the "frill" fat with kosher salt and a tablespoon of baking powder. The baking powder will change  the alkalinity of the fat to help it render more crispy when fried.


Bake at 350 F

In large bowl rub pork with 
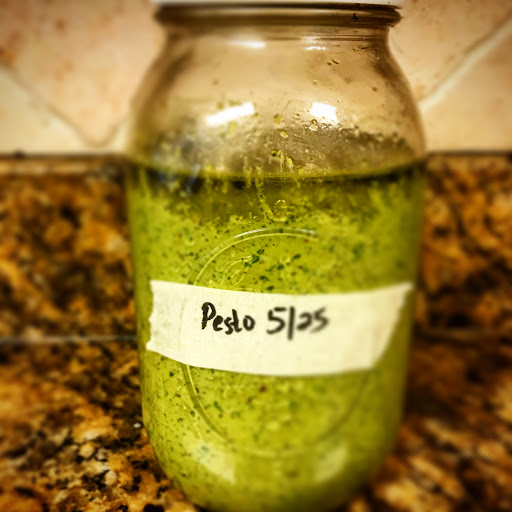
  • Sofrito (see future recipe)
  • garlic powder
  • ground pepper
  • ground coriander seeds
  • onion powder
  • Olive oil
Place on oven tray, covered in foil in preheated oven at 350 F. Cook for 10 - 15 or until the internal temperature of the pork reaches 110 F. While the pork is cooking, now is time to heat up the fry oil. When the pork has reached 110 F you may remove the pork from the oven and fry it immediately.  You can also optionally let the internal temperature reach 140 F if you plan to fry the put the chops in the fridge to cool down completely and fry later.


Fry at 350 F

In a very tall pot, add enough cooking oil to submerge the entire pork chop.  The pot needs to be tall because the oil will rise up and you don't want a kitchen fire! Please be safe.  Heat the oil to 350 F. Remove the pork from the oven and pat dry with paper towels.

Slowly and carefully lower the chop into fry oil, checking often to see if the fat is getting crispy, the internal temperature of the pork needs to reach between 145 F and 160 F according to the USDA to be safe to eat. For taste and moisture purposes, anything above 150 is a travesty.   The meat will continue to rise in internal temperature after you remove it from the hot oil. So plan for a 10 degree "carry over" once the pork is removed. So if you want 150 F pork, remove it from the oil just when the internal temp reaches 140 F.  But continue to monitor the temperature to make sure it indeed reaches at least 145. If not, return to oil to cook some more.


Let pork rest for 10 minutes before cutting.

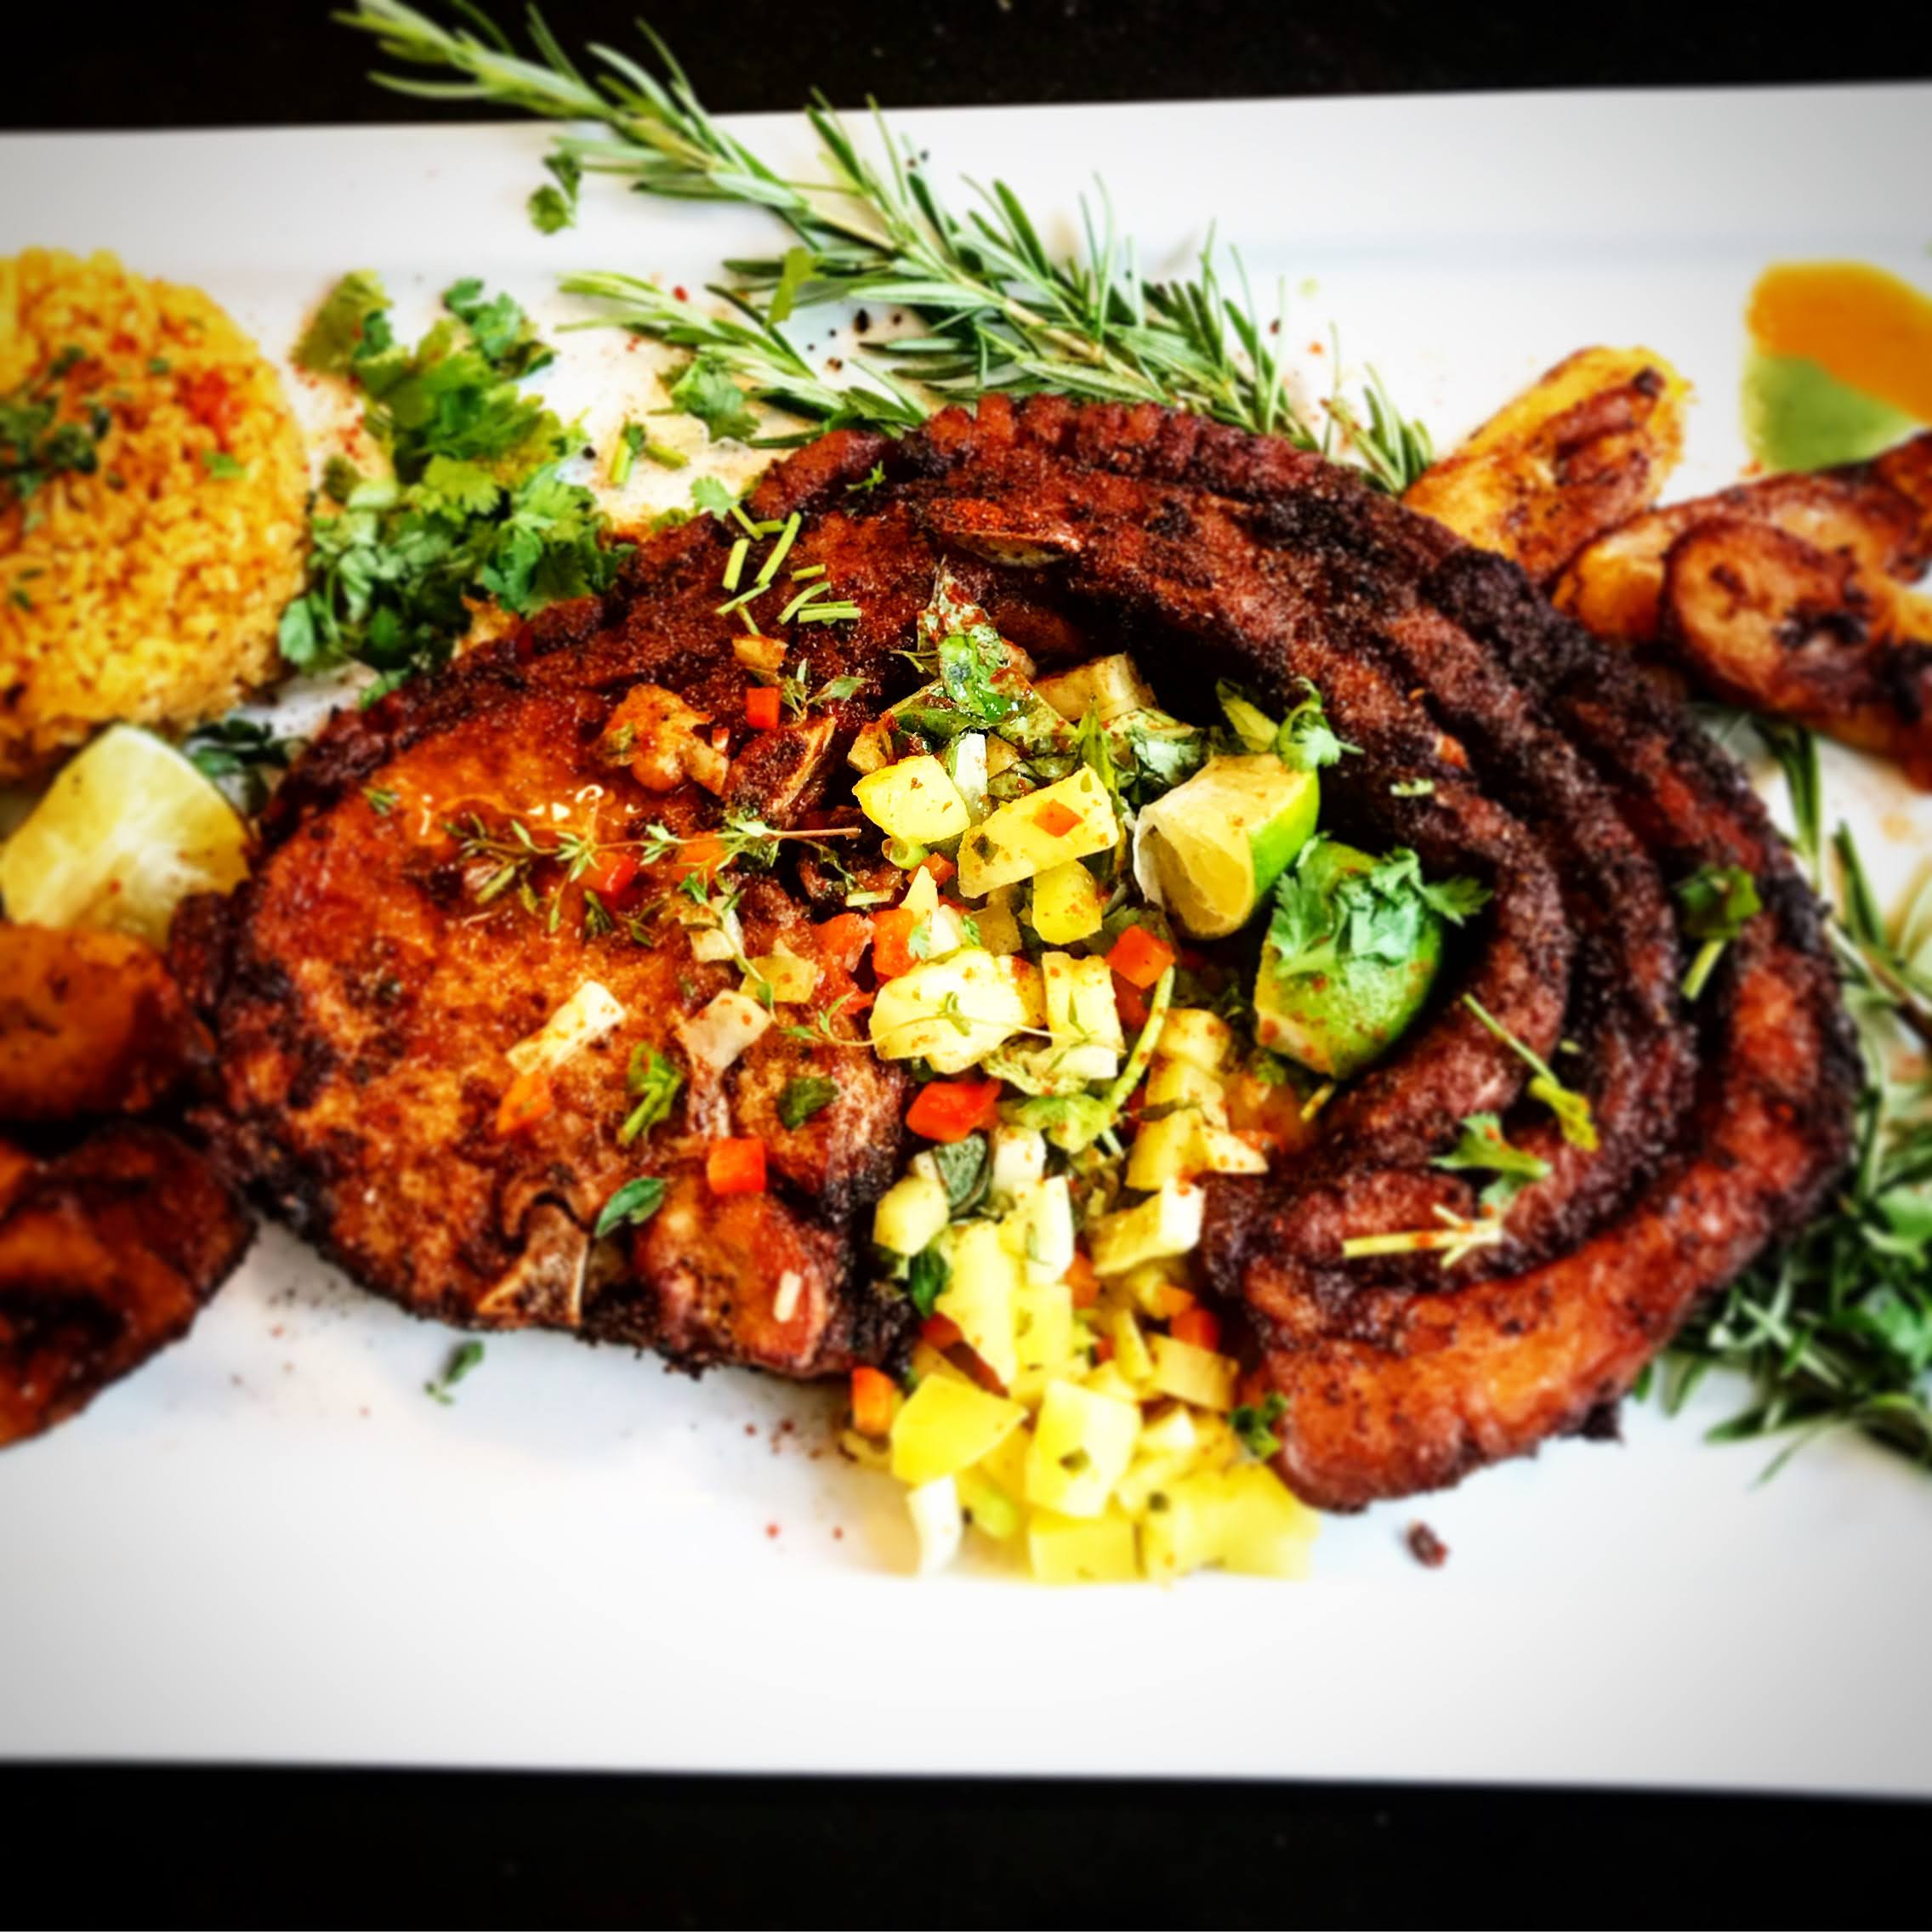
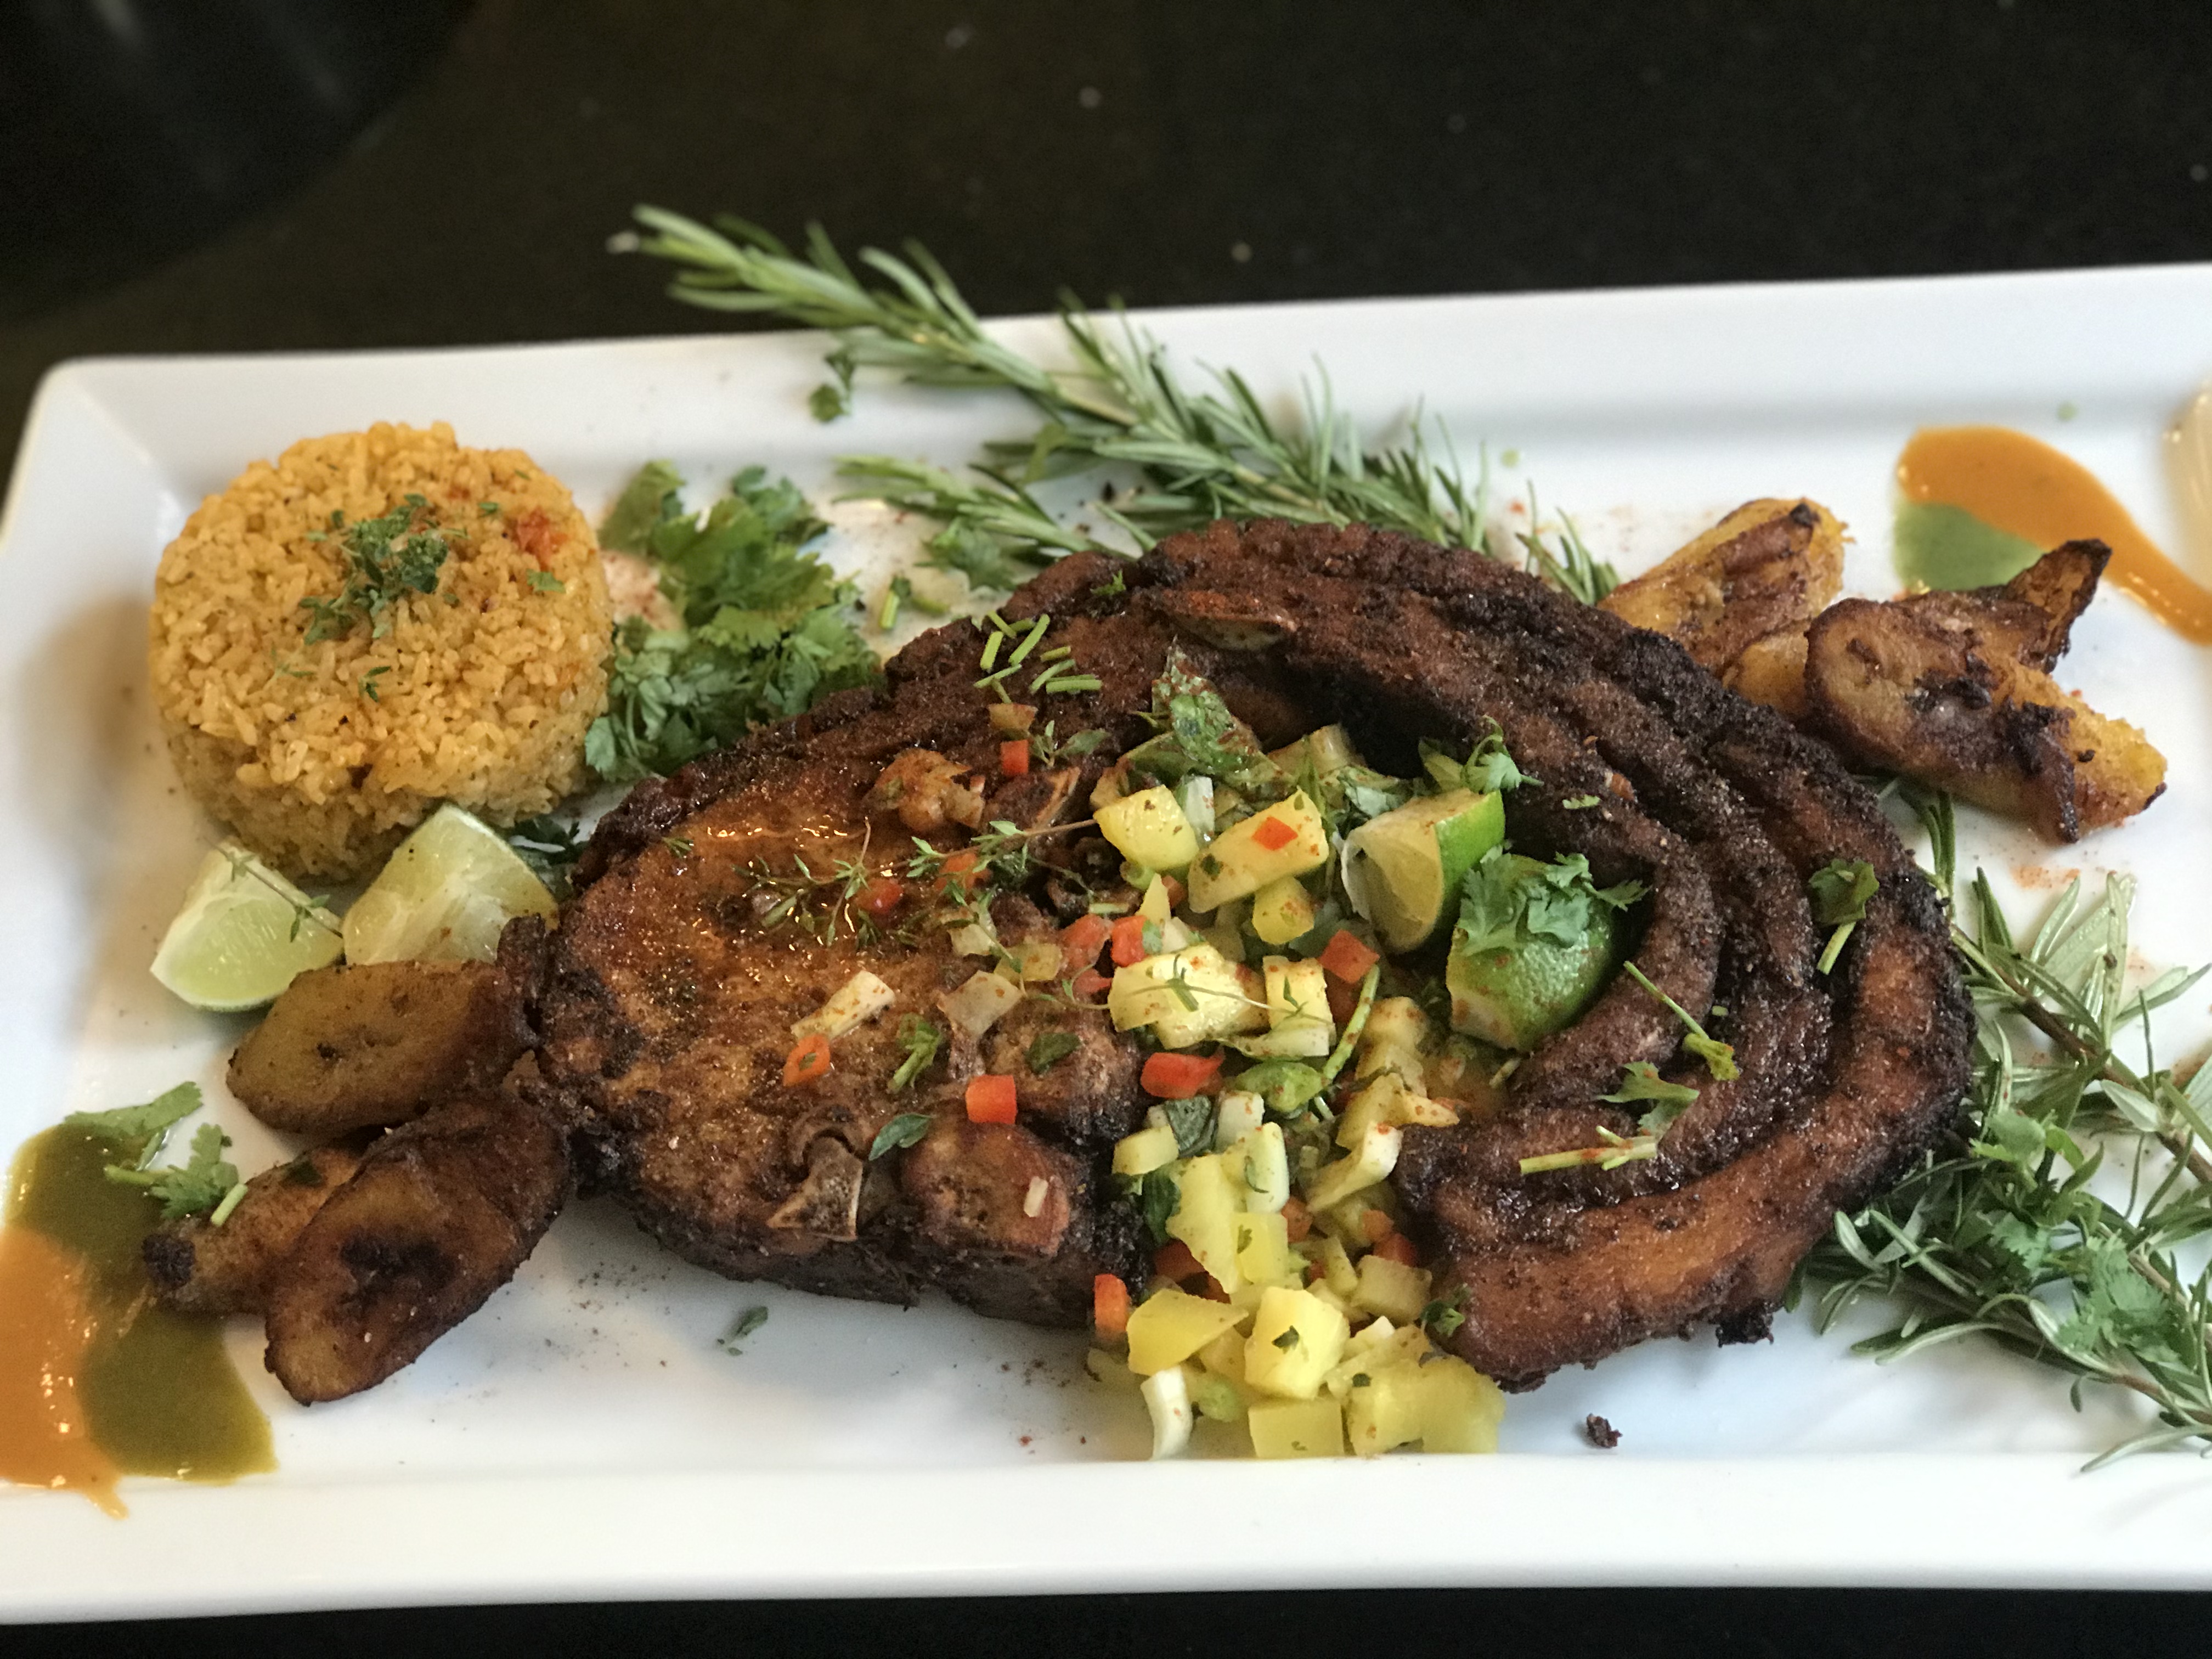
Serve up on a very large platter, with yellow rice, fried plantains and  pineapple, mango & jalapeño salsa.


Michelle made these the other day and it was so good! I usually like my lamb in the form of a chop that pink and rare.  She likes lamb more "cooked" and from parts that are not as gamey.  This lamb kofta was a dish we both could love. 

The side of Zucchini "pasta" tossed through some heirloom tomatoes, oil and garlic was genius inspired from desperation to use up all of our heirloom tomatoes from our garden this summer. 

What is Kofta?

Kofta is a type of meatball from the Middle East and Asia.  Urdu spoken in Pakistan, India and the Middle East the word کوفتہ‎, romanized: koftah, literally means  'pounded meat' because the added all the ingredients and then pounded them in a mortar and pestle. Today thankfully we have meat grinders and food processors!

Kofta Ingredients 


  • 1 lb ground lamb
  • 1/2 Onion grated (on box grater or in food processor)
  • 1/4 bread crumbs (Panko bread crumbs are the best)
  • 2 cloves of garlic crushed and chopped
  • 2 tsp cumin
  • 2 tsp ground coriander
  • 2 tsp smoked paprika
  • 1 tsp ground cinnamon
  • 1 tsp cayenne pepper (or to taste)
  • 1 tsp salt
  • 1/2 tsp black pepper (or to taste)
  • Kabob Skewers  

Kofta Preparation

Combine all ingredients in a large bowl, mixing by hand till thoroughly mixed. Oil the skewers prior with olive oil or other cooking oil. Form meat into a cigar shape wrapped around the skewer.   Meat should adhere firmly to the flat skewers and not move around. If the mince it too wet, add more bread crumbs.

Grill Instructions:  over lump charcoal making sure the coals have transitioned from the "active flame" stage to the "white ash" hot stage. Cook for about 6 minutes, rotating often.  

Plan B: If you feel the grill is flaming up too much and the outside of the kafta is getting too much char without the inside cooking fully, remove from the grill.  When the skewer is cool enough, carefully slide the kafta off the skewer, put on baking tray and finish in the oven at 250 F till the kafta is cooked all the way through.

Stove Instructions: Heat 1/2 tsp oil in skillet (preferably cast iron) over medium high heat. Cook kafta in batches for minutes each, turning koftas while cooking to get browning on all sides.


Home grown heirloom tomatoes are nothing like the sad, insipid tomatoes you get from the grocery store.  Those tomatoes, even the ones that claim to be heirloom, have been picked while green and firm to survive shipping. On the journey the color changes but the taste doesn't improve much.

This year I planted 32 heirloom plants.  Picking 10 or more pounds (4.5 kilos) per day, we have had to pull out all the tomato recipes. 

Gazpacho is a traditional recipe recipe from Spain.  This "Cold Heirloom Tomato Soup" recipe is similar to gazpacho but lacks the traditional red sweet (bell) peppers and stale bread (to act as thickener) 


Ingredients

  • 3 medium heirloom tomatoes, stem removed and diced
  • 1/2 cucumber, peeled and chopped
  • 3 green onions, diced
  • 3 tablespoons olive oil
  • 2 tablespoons red wine vinegar (I used homemade butternut squash vinegar)
  • small bunch of oregano
  • 2 sprigs thyme
  • salt &  pepper to taste


Preparation

Puree all ingredients with a stick blender and chill for 1 hour


Serve

Garnish with white truffle oil,  smoked paprika & grated Parmesan cheese to garnish


Tried the world's hottest pepper today!  You can view the results here: Carolina Reaper Taste Test


If you think you don't like the taste of vinegar, you haven't had good vinegar.


Either you like bacon or you are wrong!  Confit pork belly can be even better than bacon.  


What is Confit? 

Confit is an old French cooking term that literally means to "preserve." Before the days of refrigeration, people found they could preserve meats for months by salting it in a brine and covering it completely in a fat like lard  and cooking it at very low temperatures for several hours. After the fat cools, the meat can be stored in a cool dark place for months. Today we don't confit meat for preservation reasons, we do it because it renders the meat amazingly moist and tasty.

What is Pork Belly?

Pork belly comes from the same cut from which we get bacon. Bacon is typically cured and smoked and sliced.  Bacon commonly has the pork skin or rind removed.  Pork belly on the other hand is uncured and not smoked, the pork skin is typically left on.   Pork belly has lots of fat but when cooked properly the meat is fall apart tender and the fat meltingly soft.

Obtaining pork belly can be difficult at times. Your regular grocer may carry it, as well as, specialty butchers. If you have enough freezer space, find a local hog farmer and purchase a whole hog, instruct the processor NOT to make bacon from the belly, but to leave the belly whole with skin on.

Brine the Pork Belly

Since pork belly is uncured it will benefit from a salt brine.  Salt will bind to water and will help flavor the meat and add fluids to the meat and fat, as well as tenderize the meat.  Find a container that will hold the entire pork belly with at least a few inches of head space above the pork. I put a couple of metal chopsticks on the bottom of the container to allow the brine to get underneath the meat.   Add some smashed fresh garlic cloves,  a handful of peppercorns, bay leaves and fresh herbs like rosemary and thyme. To make a 2%  brine fill a container with a enough water to cover the entire pork belly, weigh the water. Using grams and kilograms makes the math easier, so if you have 1000g of water multiply that by .02 which will give you 20 grams. Weigh out 20 grams of kosher salt and add it to the water and agitate until it dissolves. Pour over the pork belly until it completely covers the pork. Pork belly may tend to float so you may need to weight it down to keep it completely submerged.  Cover the container.  Put container, brine and pork belly in the refrigerator over night or for at least 10 - 12 hours. Afterwards, remove pork belly from the brine, rinse the salt off and pat dry with a towel.


Confit the Pork Belly


Cover the pork belly with fat, lard works well. I didn't have quite enough lard so I covered it with half lard, half duck fat.  To be sure you have enough fat, it is helpful to warm up the lard enough so it starts to melt.  Cover container with lid or heavy duty foil and put in a pre-heated oven set to 200 F.  Cooking will take up to 6 hours, but start checking at around 4 hours. Meat should feel very soft, but with some slight resistance.

Cool Pork Belly & Fat

Remove container and allow to cool at room temperature. You can store in the fridge.  I like to cover the meat and fat with plastic wrap put a plate on top and a weight on top of the plate. This compresses the meat and presses out some excess fat and improves the layers of meat and fat.

Serve Pork Belly

Remove container from fridge, allow to warm up at room temperature till the lard is soft enough allow the pork belly to be removed from the encasing fat.  Wipe excess lard from meat. If you have skin on the pork, use a sharp knive to remove the hard pork skin, leaving the fat layer just underneath.  Score the fat with a cross hatch pattern, being careful not to cut into the meat.
Slice pork belly into squares.  

Preheat oven to 350.


 In cast iron skillet add enough cooking oil to coat the bottom of the skillet. Heat oil till the oil glistens.  Place the pieces of confited pork, fat-side-down, in the skillet, being careful not to crowd the pan. (You may need to work in batches.) Immediately reduce the heat to medium-low and cook until the excess fat is rendered and the fatty side is browned, about 18 minutes. You will need to pour off any excess fat about halfway through cooking. When the pork is browned, transfer the skillet to the oven until the belly is heated through, about 10 minutes. Remove from the oven, sprinkle with the salt, (optionally some Chinese Five Spice) and serve.

Also can be added to Ramen!

This recipe was adapted from Thomas Keller's "Ad hoc at home" if you liked this recipe click the book below to see even more amazing recipes like it.


If you plant some basil plants, you will soon find you have more basil than you can handle.  One of the tastiest usages of heaps of basil is to make pesto. However every time you pick basil, or maintain it by pinching off the big leaves or removing flowers to encourage growth, you end up with different amounts of leaves. 

Your current pesto recipe calls for 3 cups of packed basil leaves, but you only have 2: What to do?


Use a pesto ratio.
Not a recipe. 

 
A starting ratio for pesto is 1:2:2:8. 1 part nut: 2 parts oil: 2 parts grated cheese: 8 parts herbs

So let us say you pick two packed cups of basil or other fresh herbs.  Divide that into 8 parts, which would be a 1/4 cup.  You now have the "1" in your ratio. Your recipe based on two cups of packed herbs would be:

1/4 cup nuts (pine nut, peanut, walnut, cashew or combo of all)
1/2 cup oil
1/2 cup grated cheese 
2 cups packed basil or other herbs
Blend until smooth.
Add salt to taste
Store in jar top with oil to protect from air and refrigerate.


You can scale this up or down based on the amount of basil you pick. Admittedly the math gets hard when you start dealing with odd amount of measurements, this is where I usually fill out the herbs to get to more easily divisible number, for instance if I have 3 1/2 cups of basil add a 1/2 cup of parsley or cilantro to get to 4 cups.  You can also go "European" and switch to milliliters if you have cups with metric markings.


Now that you have made pesto you can use it as a dip or spread, or cook up some pasta with some mushrooms and bacon and you have yourself a quick tasty lunch.


Not everyone can be a pit master, but everyone can have a perfectly smokey brisket even if they live in a small apartment or just hate being outdoors.

Here is the basics you need:
Special Equipment:
Directions:

Prep the brisket(s)
Trim any hard fat and silver skin off the brisket. Separate the superficial pectoral muscle from the deep pectoral muscle, by following the natural line of fat separating the two muscles.

Sprinkle both sides of both deep and superficial pectoral muscles (also called the point and the flat) with salt, course ground black peppercorns, smoked paprika and garlic powder.  I used an old hand crank burr coffee grinder to quickly get a large amount of ground pepper, but a pepper grinder works also.

Put briskets in sous vide bags and vacuum seal. If you don't have a vacuum sealer you can use a very large heavy duty zip top bag, and you may want to "double bag" to ensure water doesn't seap in.

Cook the Briskets
Set Sous vide immersion circulator to 150 or 155 F and let cook for at least 24 hours.

Make the Brisket Sauce
After 24 hours, remove bags, snip a corner of the bag and pour out all the bag juices into a large heavy bottom pot.  We are making a vinegary thin brisket sauce to go with our brisket, for this you will need:

  • 1 cup of Ketchup
  • 1 28-oz can of tomato puree
  • 1 6-oz can of tomato paste
  • 1/2 cup of distilled white vinger
  • Sugar (to taste)

Finalize the brisket

You can refrigerate the brisket for several days, when it comes time to serve mix up a glaze of equal parts:
  • Cane Syrup or Molasses
  • Soy Sauce
  • Vinegar
Baste on both sides and re-heat brisket under broiler till the syrup starts to bubble.

Slice and serve with re-heated brisket sauce.


I have two Anova sous vide immersion cooker that I have used for the past two years.  Get yours here: Anova Culinary Sous Vide Precision Cooker